


Tips & Tutorials, Uncategorized
A Simple Guide to Checking and Replacing Car Battery Yourself
What Is a Car Battery?
A car battery is the core component of a vehicle’s starting system. Essentially, it is a rechargeable DC power source that converts chemical energy into electrical energy to power the vehicle. During driving, it also reverses this process by storing electrical energy back into chemical form for later use.
In a vehicle, the battery plays two crucial roles. First, it provides a strong current to the starter system, ensuring the engine can start smoothly — this is the foundation of vehicle ignition. Second, it supplies power to various electrical components inside the car, such as headlights, audio systems, and the central control screen, ensuring all functions operate normally.
However, when the battery runs low or fails, the car will not start, leading to inconvenience or even being stranded. That’s why regular car battery inspection and performing a car battery test are essential parts of vehicle maintenance. If issues are detected, timely battery replacement or learning how to replace a car battery yourself can help ensure your vehicle always stays reliable and ready to go.
How to Check If Your Car Battery Needs to Be Replaced
Step 1: Visual Inspection — Quickly Identify Obvious Issues
This step requires no tools and can be done with a simple visual check. It’s ideal for an initial car battery inspection.
Check the battery’s appearance: Open the hood and locate the battery (usually a black plastic case marked with positive and negative terminals). If you notice swelling, cracks, or white/green powdery corrosion around the terminals, it indicates internal damage or leakage — a clear sign you need a battery replacement.
Confirm the battery’s age: Look for the production date on the battery case (usually written as “year/month” or “week/year”). The average lifespan of a lead-acid battery is 3–5 years. If it has been used for over five years, even if it looks fine, it’s wise to replace it to prevent sudden failure.
Step 2: Functional Testing — Observe Signs of Weak Power Supply
You can evaluate your battery’s performance during daily use without any special equipment.
Test the starting condition: When pressing the start button, if the engine turns slowly, sounds weak, or needs several attempts to start, your battery is losing charge and performance is declining. If there’s no cranking sound and only a “click” noise or your dashboard lights dim instantly, the battery has failed and must be replaced.
Test electrical components: With the car in “ON” mode but not started, turn on the headlights, infotainment screen, and power windows. If you notice dim lights, laggy displays, or slow window movement — especially when using multiple electronics at once — your battery voltage is too low to provide stable power.
Step 3: Professional Testing — Accurately Evaluate Battery Health
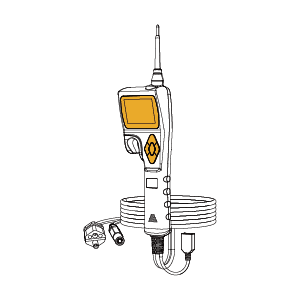
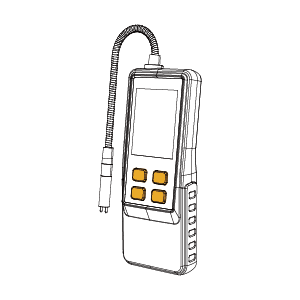
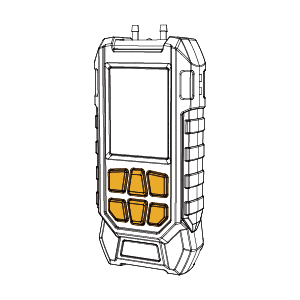
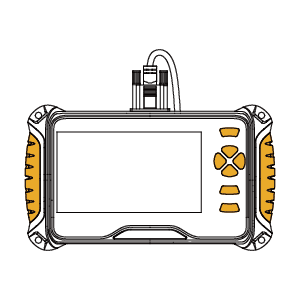
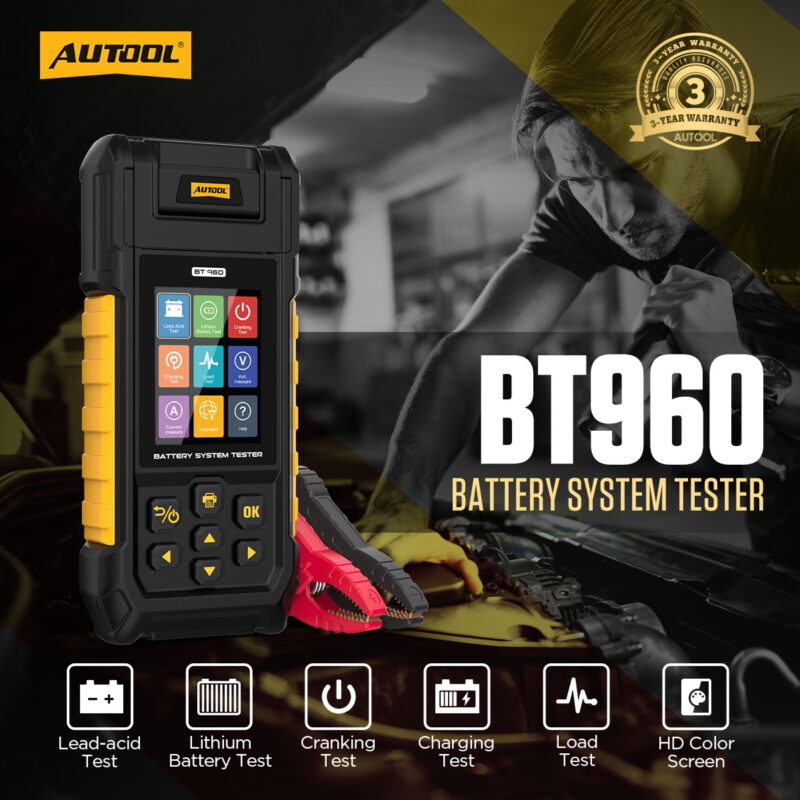
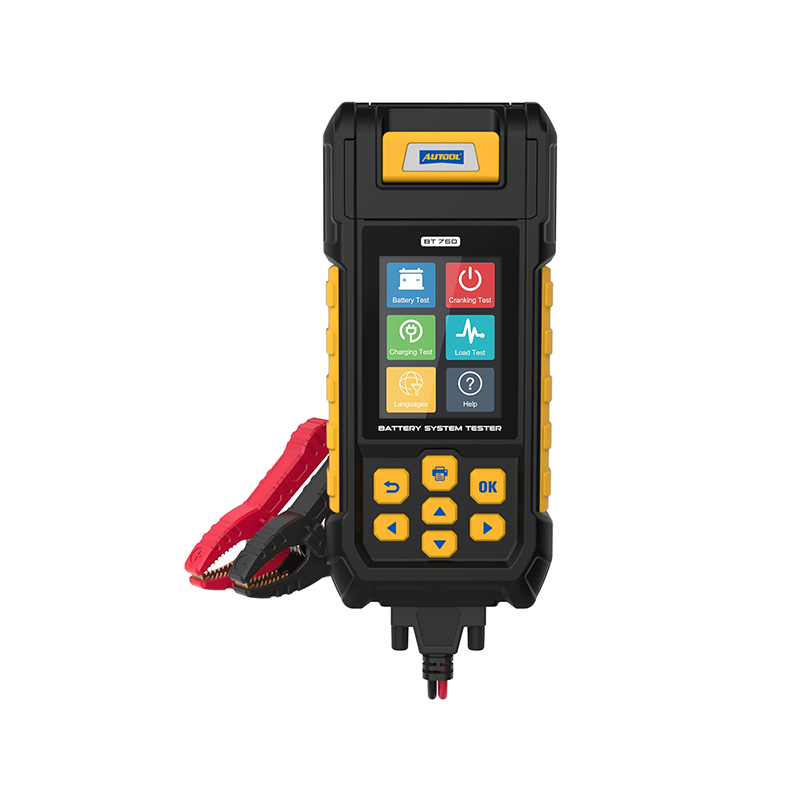
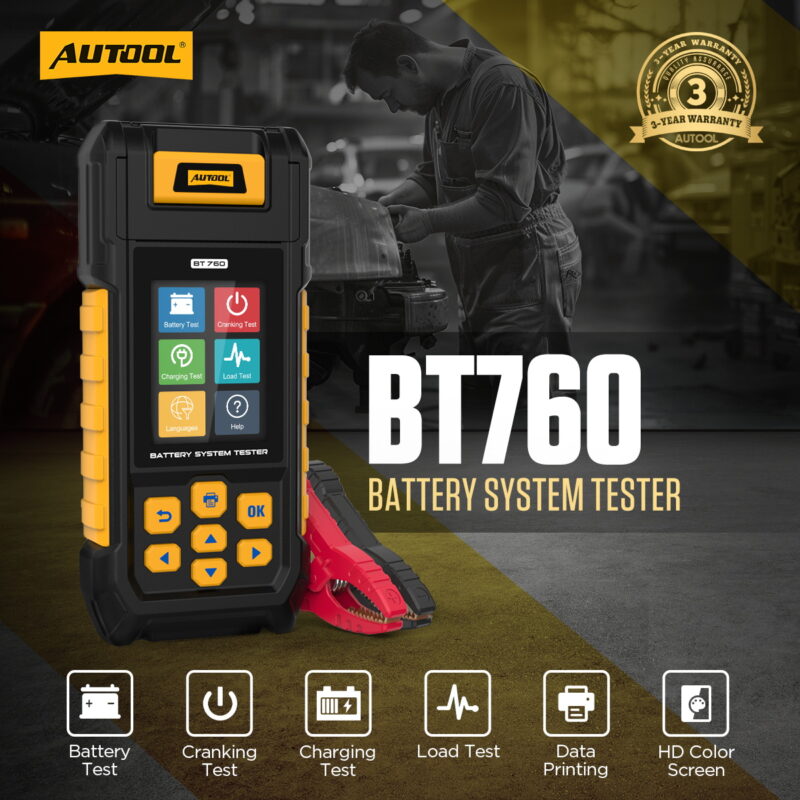
If you’re still unsure after the first two steps, use diagnostic tools for a more accurate car battery test.
Measure voltage with a multimeter:
When the car is off, set the multimeter to DC voltage mode. Connect the red probe to the positive terminal and the black probe to the negative terminal. A healthy battery should read between 12.4V and 12.8V. If it’s below 12.2V, the battery is undercharged; below 12V, it needs immediate replacement.
After starting the car (at idle), measure again. A normal reading should be 13.5V–14.5V. If it remains below 13V, the alternator may not be charging the battery, and both components should be checked. However, the battery itself is likely failing.
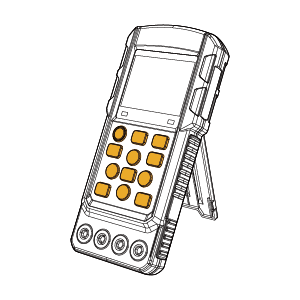
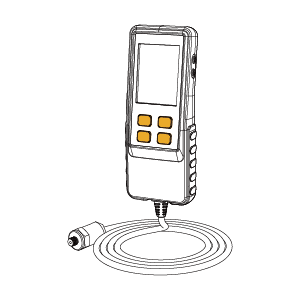
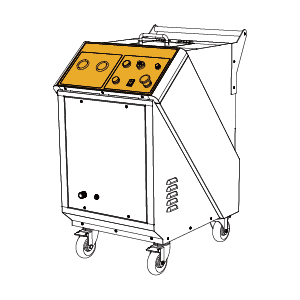
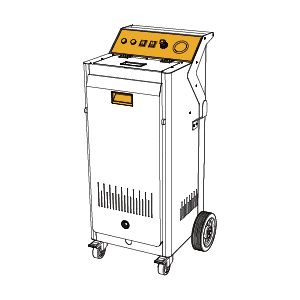
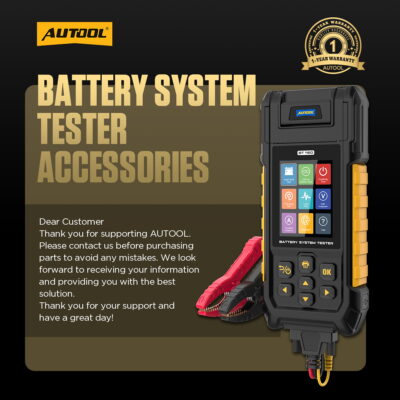
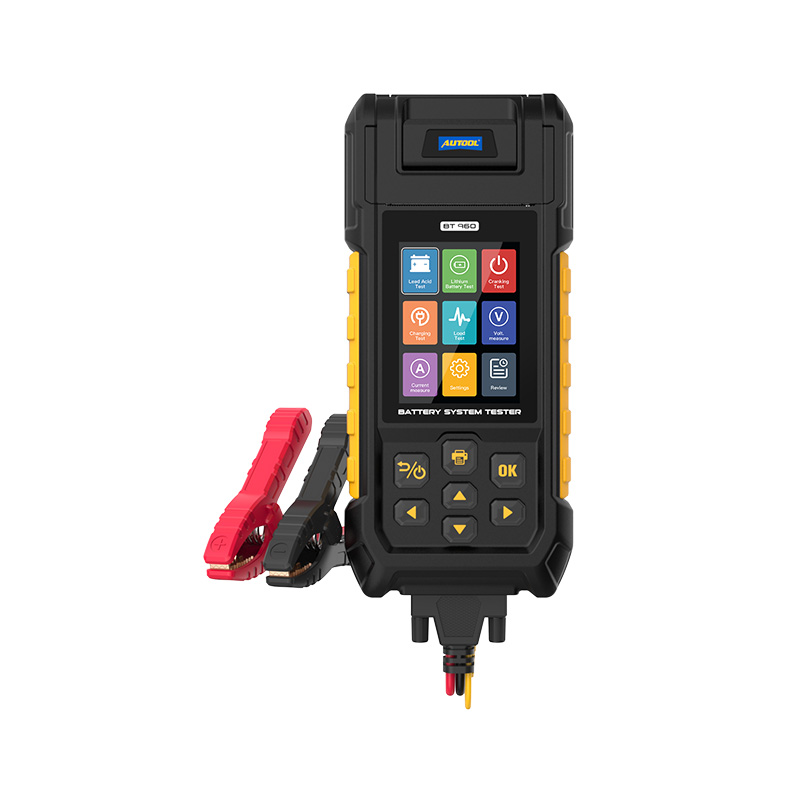
Use a battery analyzer or car battery checker:
A professional car battery checker can display the State of Health (SOH) and State of Charge (SOC). If the SOH is below 60%, it’s time to plan for a replace car battery procedure — even if the vehicle still starts — since the battery will soon lose charge more frequently.
By combining these three steps — visual inspection, functional testing, and professional measurement — you can accurately determine when a battery replacement is necessary, helping you avoid breakdowns and keep your vehicle running smoothly.
-29%
NEW
$139.00 – $239.00
What to Prepare Before Replacing a Car Battery
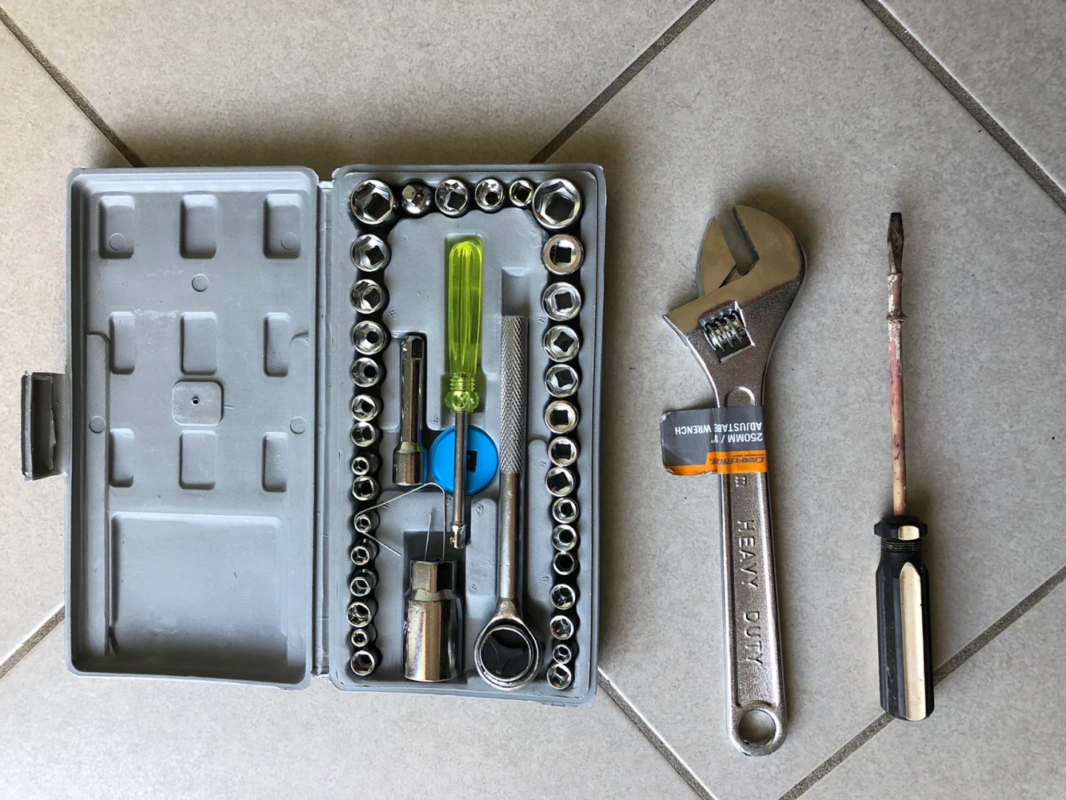
1. Prepare the Right Tools to Ensure a Smooth Operation
Before you replace your car battery, it’s essential to have the proper tools ready. This helps prevent any issues during disassembly or installation.
- Main tools: Prepare a socket wrench or open-end wrench set to remove the nuts on the battery’s positive and negative terminals (commonly 8–13 mm; you can check your car battery terminal size in advance).
- Additional tools: Bring a flathead screwdriver to gently remove corrosion or rust from the terminals if needed, and a clean cloth to wipe dust or dirt from the battery surface.
2. Verify the New Battery Specifications to Avoid Mismatch
Before starting your battery replacement, ensure that the new battery perfectly matches the original one. Focus on three key parameters:
- Model and size: Check the label on the old battery for its model (e.g., “55D23L” or “6-QW-60”). The new one must have the same specification to fit properly.
- Capacity rating: Confirm the rated capacity (measured in Ah, such as “60Ah”). The new battery should have the same or higher capacity. A lower capacity could cause weak starting power.
- Voltage specification: Standard gasoline vehicles use 12V batteries, and most hybrid vehicles’ auxiliary batteries are also 12V. Make sure not to purchase a 24V truck battery by mistake.
3. Take Proper Safety Precautions to Reduce Risk
Since car battery replacement involves electrical systems and chemical materials, safety preparation is crucial.
- Wear protective gear: Put on insulated gloves to avoid electric shock when touching the terminals. If the old battery is leaking, also wear safety goggles to protect your eyes from electrolyte splashes.
- Disconnect the vehicle: Ensure the car is fully turned off, the key is removed, and all electrical systems are powered down. This prevents short circuits during the car battery inspection and replacement process.
4. Record Vehicle Settings to Prevent Data Loss
Some vehicles lose saved data when you disconnect the power, so you must prepare thoroughly before replacing the battery.
- Record important settings: If your car doesn’t automatically retain memory functions, note down items such as radio presets, seat positions, and one-touch window controls. This will help you restore them afterward.
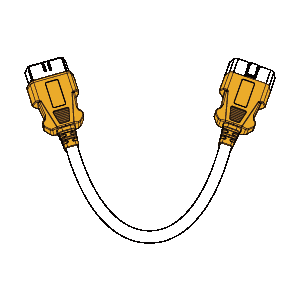
- Use a backup power device (optional): If you’re worried about ECU data loss or warning lights appearing after disconnecting power, connect an external power source (via the OBD port or directly to the battery terminals). This keeps a low-level power supply active during replacement, ensuring the car battery test and installation proceed without system interruptions.
By following these preparation steps carefully, you can perform a safe and efficient replace car battery procedure while avoiding potential issues with power loss, mismatched specifications, or electrical hazards.
Steps to Replace a Car Battery
Step 1: Power Off the Vehicle and Prepare for Safety
Before you replace your car battery, it’s crucial to ensure complete safety. First, you must fully turn off the vehicle—remove the key or shut down all power systems—and engage the parking brake. This prevents any movement during operation. Next, wear insulated gloves to avoid electric shock. Check if the old battery has any leakage. If it does, you should wear protective goggles—this prevents electrolyte from contacting your skin or eyes. Then, open the hood and locate the car battery, usually housed in a black plastic casing on either side of the engine bay and marked with “+” (positive) and “–” (negative) symbols. Finally, clean the surrounding area to create enough working space for your battery replacement.
Step 2: Remove the Old Battery
To begin the car battery replacement process safely, always disconnect the cables in the correct order.
- Disconnect the negative terminal first: Use a wrench to loosen the nut on the negative (“–”) terminal. Once removed, wrap the cable end with a clean cloth to prevent accidental contact with the positive terminal or any metal parts, which could cause a short circuit.
- Disconnect the positive terminal next: Loosen the nut on the positive (“+”) terminal and carefully remove the cable, again making sure it does not touch any metal surfaces.
- Remove the battery hold-down clamp: Locate the securing bracket—often a metal bar or plastic clamp—at the base or side of the battery. Use a wrench to loosen the screws, then carefully lift the old battery out using both hands. Keep in mind that car batteries typically weigh between 10–15 kilograms, so lift steadily to avoid injury.
Step 3: Install the New Battery
Once the old battery has been removed, the new one should be installed.
- Position the new battery: Compare the old and new batteries to ensure the model matches. Place the new one securely into the mounting tray, aligning the terminals so that “+” connects to “+” and “–” connects to “–”.
- Secure the hold-down bracket: Reinstall the bracket or clamp and tighten the screws firmly. The battery should be stable and should not move when the vehicle is in motion.
- Reconnect the positive terminal: Attach the positive cable to the positive terminal first, and tighten the nut snugly but not excessively to avoid damaging the threads.
- Reconnect the negative terminal: Finally, attach the negative cable to the negative terminal and tighten the nut. Gently tug each cable to confirm that the connections are secure.
Step 4: Power On and Perform a Function Check
After completing the battery replacement, it’s time to verify everything is functioning correctly. Close the hood and start the engine. Observe the dashboard—if the battery warning light turns off as usual, the installation was successful. Next, test key electrical components such as headlights, the infotainment system, and power windows to confirm normal operation.
If you didn’t use an external power backup during the replacement, you may need to restore some vehicle settings. Reset the clock, radio presets, and other saved preferences. In some car models, you may also need to reinitialize the one-touch window function (usually by holding the window-up switch for about 3 seconds at the top position).
By following these structured steps, your replace car battery procedure will be safe, efficient, and reliable. Performing a final car battery inspection or car battery test afterward can also ensure that the new unit is operating optimally.
WhatsApp: +86 18926477404
Email: shop@autooltech.com