


AUTOOL Blog, Repair Information
How to Do a Spark Plug Replacement by Yourself
Spark plugs play a vital role in your vehicle’s engine — they ignite the air-fuel mixture inside the combustion chamber, ensuring smooth engine performance.
Over time, spark plugs wear out, leading to misfires, rough idling, and poor fuel efficiency.
Spark plug replacement by yourself is not as difficult as it seems. With the right tools and a bit of patience, you can save money, extend your engine’s life, and get the satisfaction of doing the job yourself.
Signs You Need a Spark Plug Replacement
How can you confirm whether you need to replace your spark plugs? The following summarizes some common signs to help you determine if your spark plugs need replacement:
- Difficulty starting the engine
- Rough idling or engine misfires
- Increased fuel consumption
- Loss of power during acceleration
- Spark plug usage has reached its recommended mileage (usually 30,000–100,000 km depending on type)
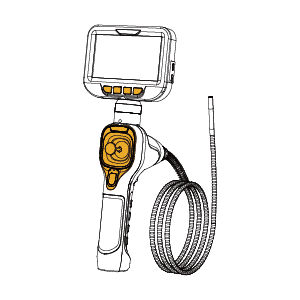
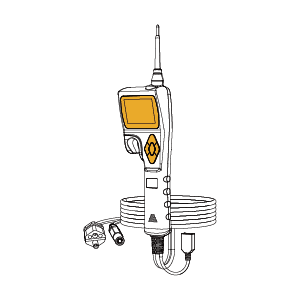
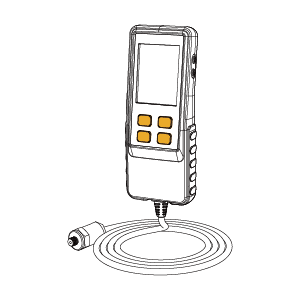
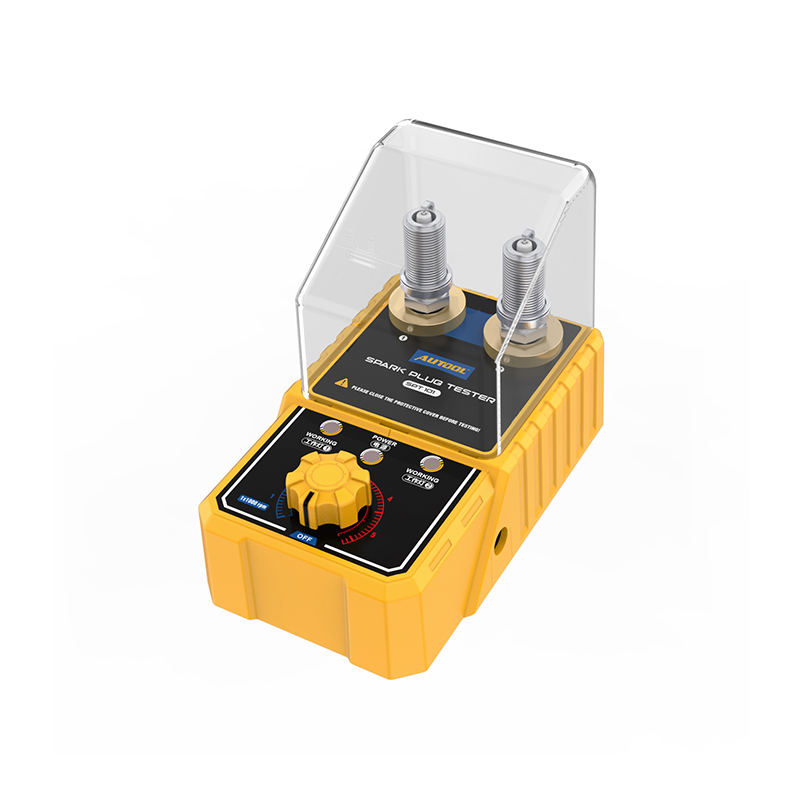
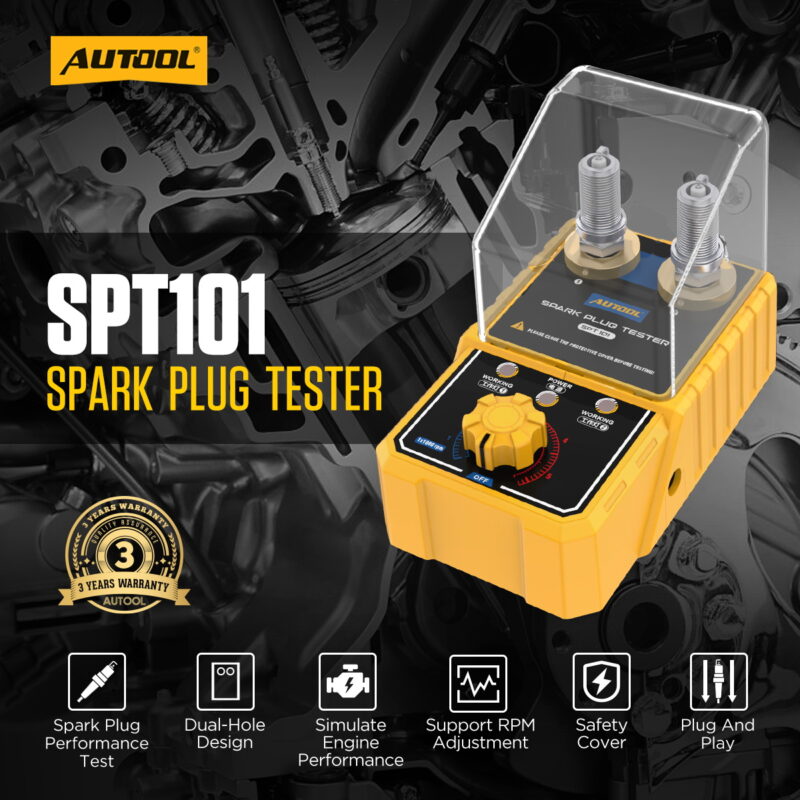
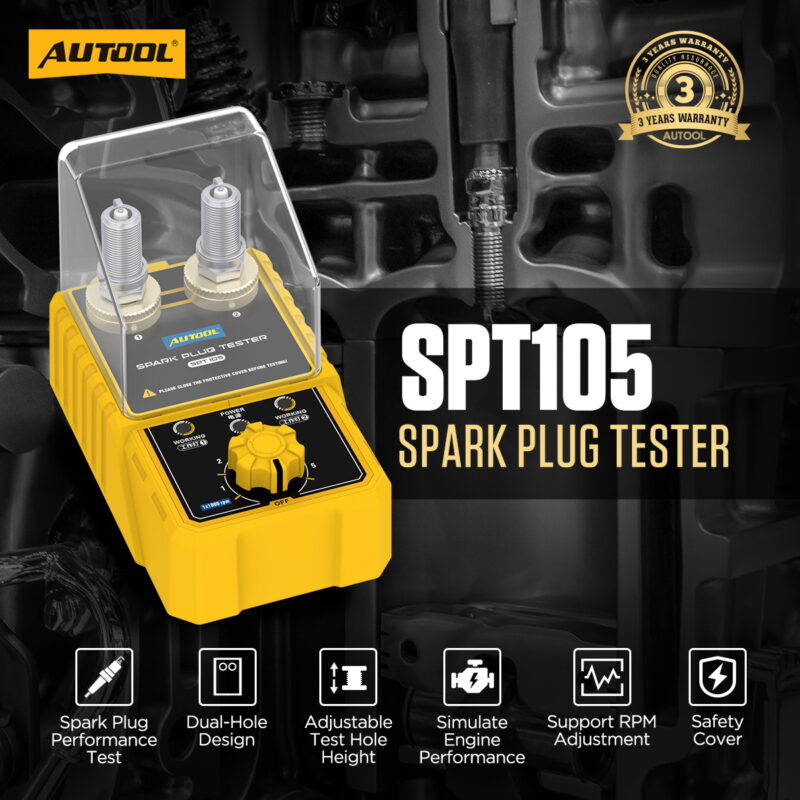
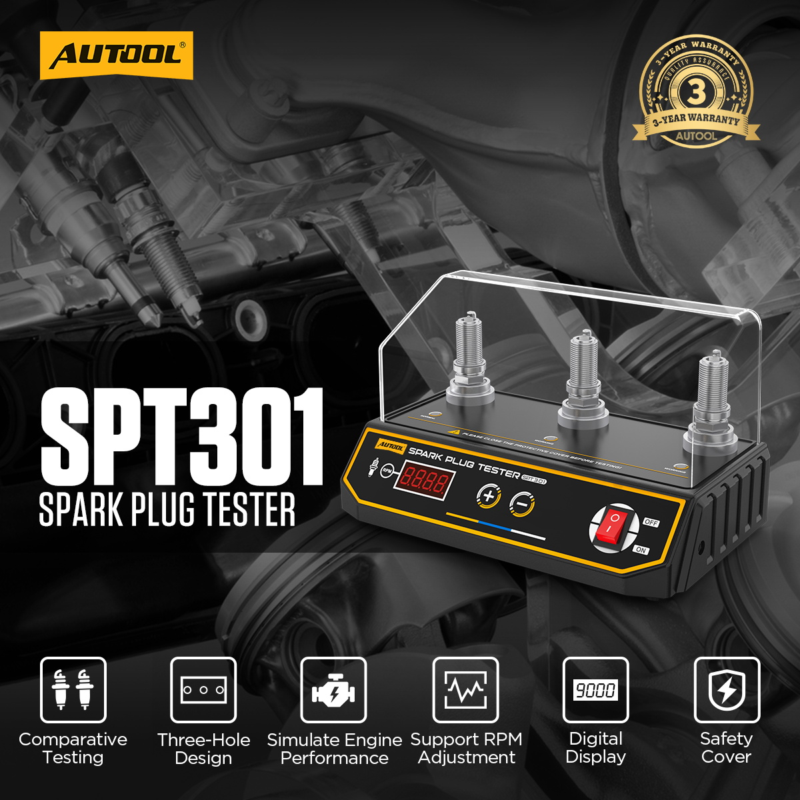
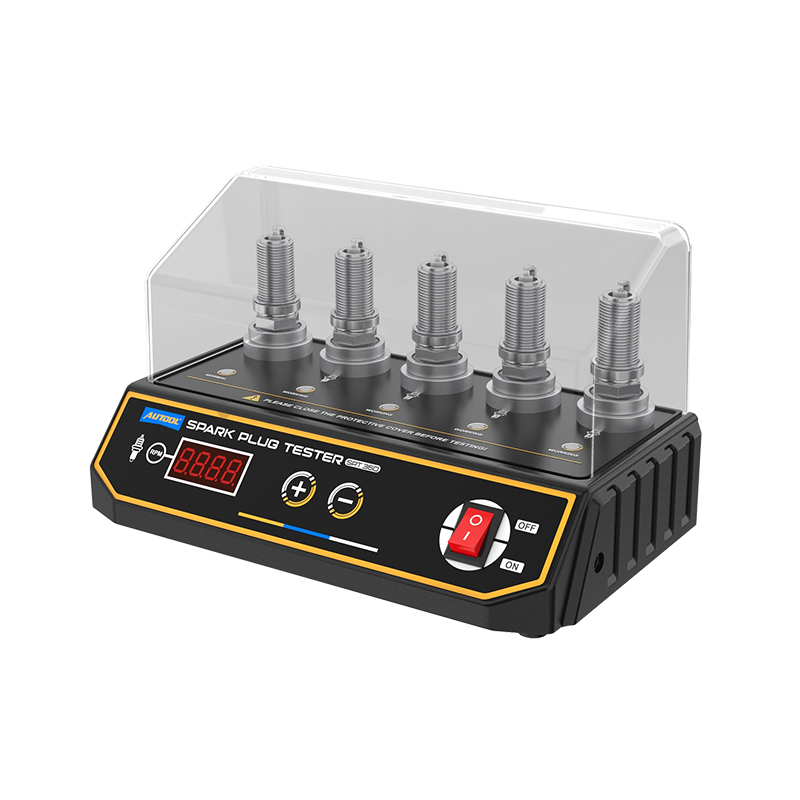
When the car has the above situation, but you are not sure which spark plug has the problem, you can remove the car’s spark plug and test it with a professional spark plug tester.


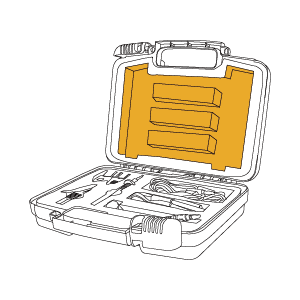
Tools and Materials You’ll Need
Prepare everything before starting:
- New spark plugs (make sure they match your vehicle’s model)
- Spark plug socket or wrench
- Torque wrench
- Ratchet or extension bar
- Spark plug gap gauge
- Anti-seize lubricant and dielectric grease
- Clean cloth or air blower
Preparation Before Replacement
- Let the engine cool down completely – never remove spark plugs from a hot engine.
- Disconnect the negative battery terminal for safety.
- Locate the spark plugs — usually beneath ignition coils or high-tension wires.
- Label each wire or coil so you can reconnect them correctly later.
Step-by-Step Replacement Spark Plugs Guide
Step 1: Remove the ignition coils or wires
Gently pull the ignition coil or spark plug wire off the plug. Avoid yanking the wire itself — use the boot instead.
Step 2: Remove the old spark plug
Use your spark plug socket and ratchet to carefully unscrew the plug. If it feels stuck, do not force it; apply a bit of penetrating oil and try again later.
Step 3: Inspect the old spark plug
Check for black carbon deposits, oil fouling, or burnt electrodes — these can indicate other engine issues.
Step 4: Prepare the new spark plug
Use a gap gauge to verify the gap matches your vehicle’s specifications.
Apply a small amount of anti-seize to the threads (optional, depending on manufacturer).
Step 5: Install the new spark plug
Carefully thread the plug by hand to avoid cross-threading. Then tighten it with a torque wrench to the manufacturer’s recommended setting.
Step 6: Reinstall the ignition coil or wire
Apply a little dielectric grease inside the boot to prevent moisture and ensure a good electrical connection.
Step 7: Repeat for all plugs
Work one cylinder at a time to avoid mixing up the firing order.
After replacing your spark plugs, please inspect them.
- Start the engine and listen for smooth idling.
- Check for vibrations or warning lights.
If everything runs smoothly — congratulations, you’ve done it! Record the mileage and date of replacement for future maintenance.
Common Errors When Replacing Spark Plugs
- Using the wrong spark plug type or size
- Overtightening or undertightening plugs
- Forgetting to check the gap
- Mixing up ignition wires
- Removing plugs while the engine is still hot
Conclusion
Replacing your spark plugs yourself is one of the simplest and most rewarding maintenance tasks you can do for your car. It improves fuel efficiency, restores power, and keeps your engine running at peak performance.With some basic tools and careful attention to detail, you can save on labor costs and gain hands-on experience maintaining your own vehicle.
WhatsApp: +86 18926477404
Email: shop@autooltech.com